Simple Steps to Install RAM on PC by Yourself
Upgrading your computer’s RAM (Random Access Memory) is one of the most effective ways to enhance its performance, allowing faster multitasking, smoother application use, and improved overall speed.
While thinking about installing new RAM in your PC can be daunting, it is actually surprisingly easy. After reading through this guide, you should be comfortable picking out the RAM you need, removing your existing memory sticks (if needed), and successfully installing the new RAM without any issues.
Preparation Before Installing RAM
Installing new memory into your computer is a fairly easy upgrade, but you need to make sure you have everything you need in order to avoid any issues. The following steps will help you to get ready for your computer memory installation.
Compatibility Check
- Motherboard Compatibility: You need to make sure that the RAM you purchase is compatible with the motherboard you have on your computer. The easiest way to check this is to look at which motherboard you have by hitting Windows + R, then type msinfo32 and hit enter. This will bring up the hardware specs on your computer. Look for BaseBoard Manufacturer, BaseBoard Product, and BaseBoard version. Take that information and use Google along with the model of memory you want to purchase to see if it is compatible.
- RAM Speed and Capacity: Next, check to see how much RAM your motherboard can handle, and the speeds it will accept.
- Number of Slots: Determine if your motherboard has enough slots for your upgrade, especially if you’re learning how to install 2 sticks of RAM.
Grab Your Tools
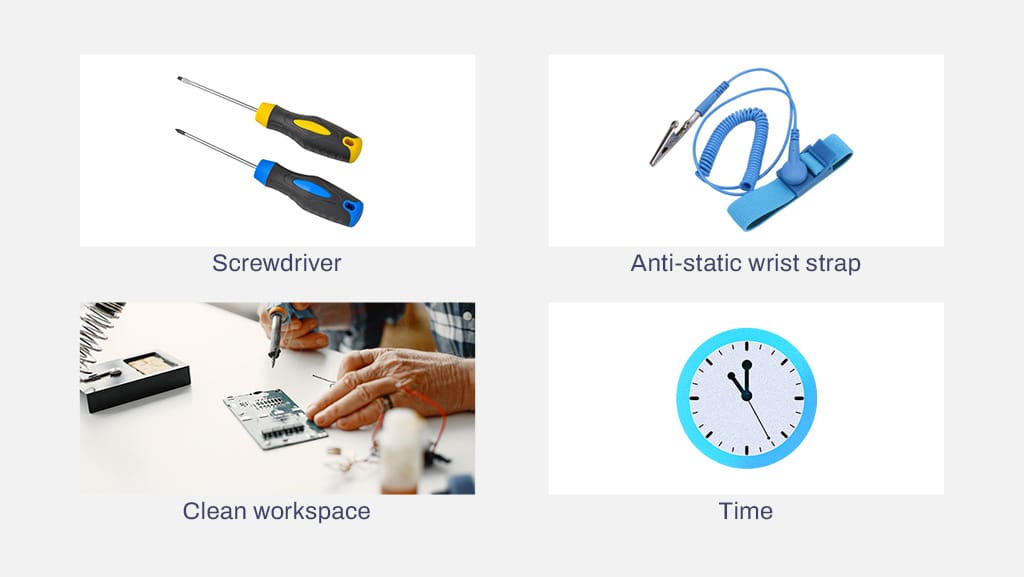
- Screwdriver: In almost all cases, you will need a screwdriver to open up your PC case. There are some cases that you can open by pressing a button or some other method.
- Anti-static wrist strap: Static electricity can cause damage to the internal parts of a computer. The easiest way to do this is to use an anti-static wrist strap, which will prevent any static from transferring from your body into your computer. These can be purchased at any computer parts store or website. If you don’t have one, make sure to touch something metal to discharge any static electricity before working on your computer.
- Clean workspace: When you start opening up a computer, you will find that there are a lot of small pieces and parts that you don’t want to lose. Having a clean, flat area to work will help to avoid any issues.
- Time: While installing new RAM into a computer is a fairly simple process, it is not something that should be rushed. In most cases, it will take under an hour to complete this task, so give yourself two hours just to be safe.
How to Install RAM on a PC
Now that you have everything you need, it is time to learn how to put RAM in a PC. The following step-by-step instructions will help you to avoid making any mistakes that could cause your system not to run properly. If you ever aren’t sure what to do, simply back up to the previous step and make sure everything was done correctly.
Step 1: Power Off Your PC
It is important to power off your PC before working on it to avoid the risk of shocks or damage to the internal components. Completely disconnecting the power cord is the safest option.
- Shut your PC down following the normal process.
- Once all the way off, remove all cords, especially the power cord.
Step 2: Open the PC Case
- Lay your PC down flat and open the case. This will typically be done using a screwdriver, but not always. If you can’t figure it out, look at the instructions that came with your PC.
- Set the cover of your case aside. Keep the removed screws safe and organized so you can put them back exactly where they came from.

Step 3: Find the RAM Slots
- If this is the first time working on the inside of the computer, it can be confusing. To find the RAM slots, find your motherboard, which is the large circuit board that all the other computer components connect to. The RAM slots are long thing slots with plastic ‘arms’ on each side. In the example picture below, you can see four slots (two blue and two black).

Step 4: Remove RAM (if necessary)
- If you are replacing the existing RAM, now is the time to take it out. To do this, simply push down on the clips on either end of the ram until the RAM pops up. You can then gently pull the RAM straight up to remove it. Remember to place this RAM into a static bag to keep it safe. This is important in case you want to sell your old RAM, use it in another computer, or just to have it as a backup in case you run into issues installing your new RAM.
Step 5: Insert New RAM
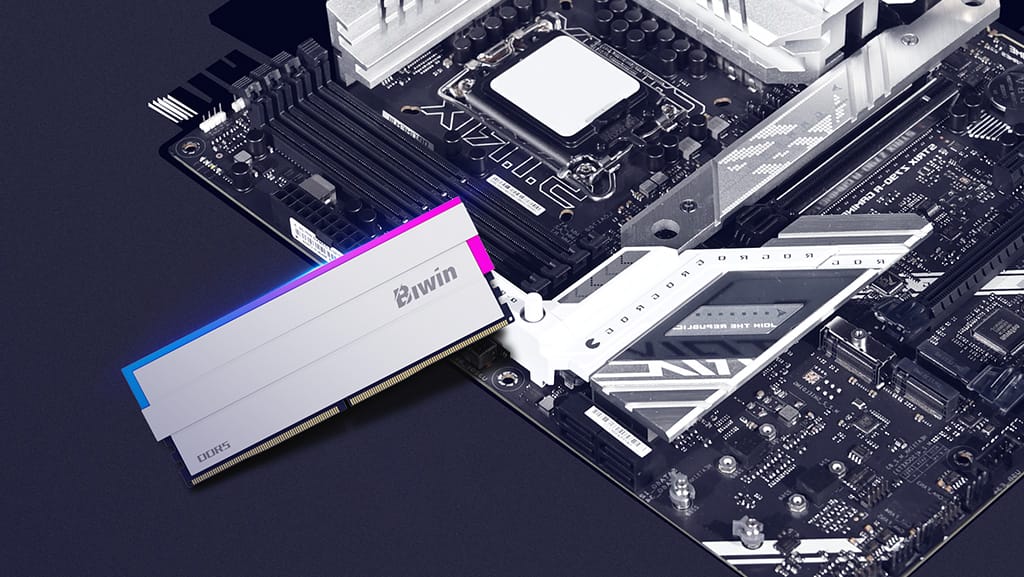
- Carefully take your new RAM sticks from the blister pack they came in, and line them up with the memory slots on the motherboard.
- Slide the stick into place so it rests easily on the open RAM slot.
- Apply pressure to the top of the first stick of RAM. Make sure to push straight down. The RAM will click into place, with the clips on the side locking it tight.
- If you are installing 2 sticks of RAM (or more), repeat this process until all your memory is in place.
Step 6: Close Up the Case
- If everything looks good, you can slide the cover of your case back into place. Make sure to secure it in place with the screws removed earlier.
Step 7: Power On Your PC
- Once you put your PC back where you want it and reconnect all the cables, turn on the power, and watch it boot up.
How to Check If Your RAM Is Installed Correctly
While installing RAM into your PC is done, you still need to test it to confirm everything is working the way you want. The following steps will help you to understand how to check if your RAM is installed correctly.
Boot Up Your PC
- When you first power on your PC, your computer will perform basic tests (known as a Power-On-Self-Test or POST) of key systems, including memory. If there is a serious problem, your computer won’t even boot up into Windows. Instead, it will beep and display an error message.
Access System Information
- If your system booted up into Windows, your memory is at least working. But you still want to confirm there aren’t any errors.
- From your desktop, go to the search bar and type “About” and hit enter to enter the About page of your system settings. From here, look at the section called “Installed RAM” under Device Specifications. Confirm the amount displayed is the amount you installed. Note that there is often a slight discrepancy between the amount installed and the amount usable (both of which will be displayed).
Please note that steps three and four below are optional. If your computer boots up and is running fine, these extra tests are not strictly necessary.
Check in BIOS/UEFI
- In the vast majority of cases, if Windows has properly detected the memory, then everything is fine. If you want to run additional tests, you can restart your computer and press the appropriate key to enter setup. This will typically be F2, Del, or ESC.
- One in the startup menu, look at the RAM capacity and speed and verify they are both what you expect.
Run Memory Diagnostics
- One last test you can run is through the Windows Memory Diagnostic Tool. This can be done by pressing the Windows button + S, then type “Windows Memory Diagnostic” and hit Enter.
- This tool will walk you through some built-in tests of your RAM to ensure everything is working perfectly.
Troubleshooting Common Problems
In the vast majority of cases, you won’t have any issues with your computer after adding new sticks of RAM. If something isn’t working, however, it may be something easy to fix. The following troubleshooting steps can help you to identify and address the most common problems people have after installing RAM in their PC.
Computer Won’t Boot Up
- This usually means that the computer can’t detect the RAM. Go through the installation process again, double checking the following:
- Clean RAM Slots: Make sure there is no dust or debris in the RAM slots.
- Fully Inserted: Make sure the full stick of RAM is fully inserted into the slot. Apply firm pressure and check that the clips on both sides are locked into place.
RAM Not Recognized
- The most common reason your computer won’t recognize the RAM you installed is because it is not compatible with your motherboard. To address this, consider the following steps:
- Verify that the RAM you purchased is compatible with your motherboard. There are a variety of online compatibility testing tools that allow you to enter your motherboard and RAM models in to see if they are compatible.
- Update the BIOS for your motherboard.
The RAM is Bad
- It is extremely rare, but it is possible that the RAM you purchased could be faulty:
- Run the memory diagnostic tool mentioned above. This will tell you if there are problems with the RAM.
- Remove one stick of RAM at a time and try to boot the PC up. If the problem goes away, it could indicate an issue with the RAM you removed.
How to Choose New RAM for Your PC
Selecting the right RAM for your PC is crucial. Here’s how to add more memory to a PC with confidence:
Capacity
- When choosing capacity, you want to make sure you are getting enough to support your PC today and for several years to come. Most users will find that 16GB is sufficient.
- Those who want higher end performance will want to get 32GB, or even more, to support gaming, graphic design, artificial intelligence applications, and more.
Speed
- Higher speeds, such as 3200MHz or 3600MHz, offer better performance for gaming and multitasking.
Brand Recommendation
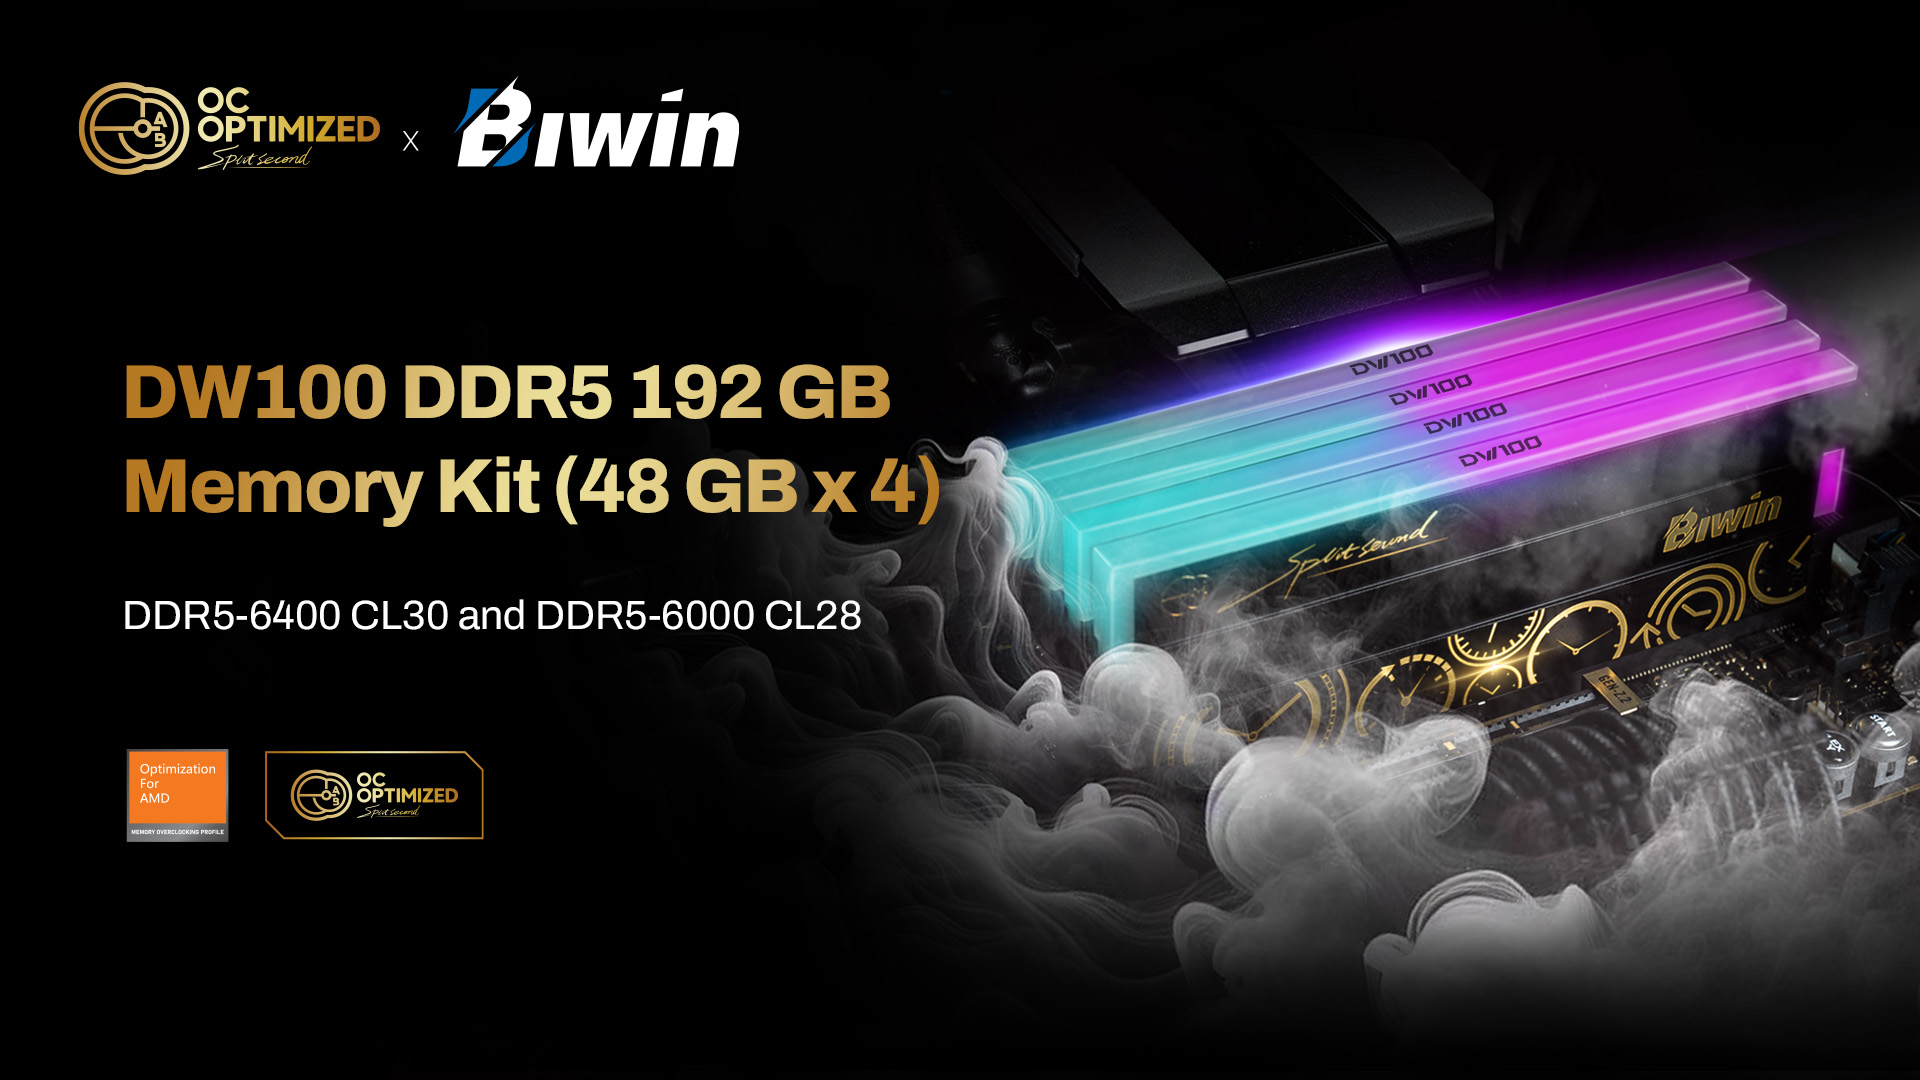
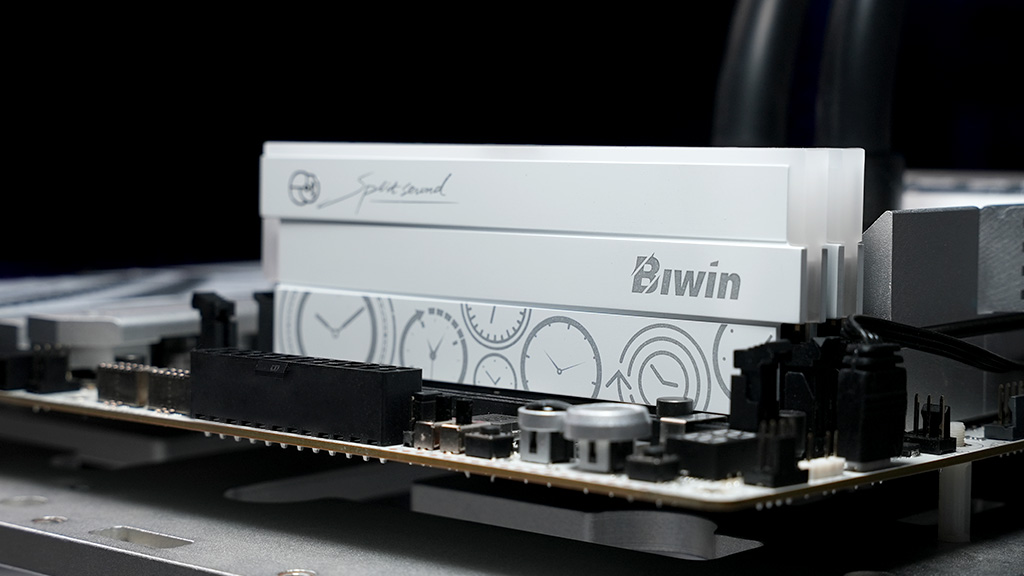
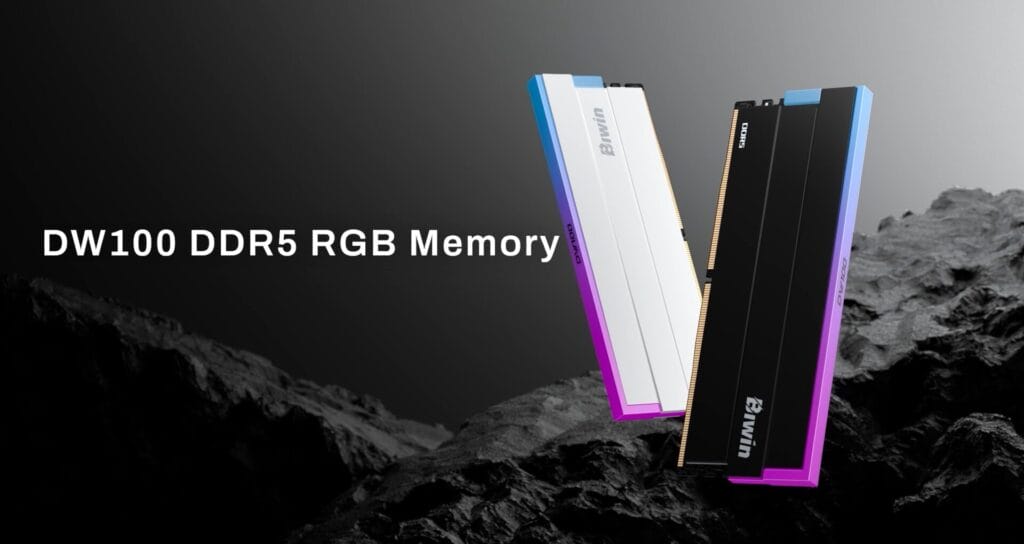
- We recommend the Biwin Black Opal DW100 DDR5 RGB Memor for its high performance, reliability, and sleek design. Learn more about it here.
Conclusion
Upgrading your PC’s RAM can significantly enhance its performance, allowing for faster and smoother operations. By following this guide, you now know how to install RAM on a PC, test its installation, and troubleshoot any issues. Whether you’re learning how to get more RAM on a PC or simply expanding your knowledge of computer memory installation, these simple steps make the process straightforward and accessible.
FAQ
1. How much RAM should I install?
The amount of RAM you need depends on your usage. Casual users can make do with 16GB, while gamers and professionals benefit from 32GB or more.
2. Can you add 32GB RAM to a system that has 16GB for a total of 48GB?
Yes, but ensure both sticks are compatible in terms of type and speed and that you have enough open memory slots on your motherboard.
3. Is 16GB RAM enough for the next 5 years?
16GB will suffice for typical tasks. However, more RAM is useful if you are a content creator, serious gamer, heavy multitasker, 3D modeler, or someone with computer-intensive activity. The rise of the AI PC, the multiverse, and Big Data will also create the need for more RAM.
4. Will going from 16GB RAM to 32GB increase FPS?
In gaming, the FPS boost depends on other factors like the GPU. However, having more RAM can reduce stuttering in some games.
5. What is the life expectancy of RAM?
RAM typically lasts 10+ years, provided it isn’t damaged by external factors like static electricity.

